Raspberry Pi!
April 20, 2016
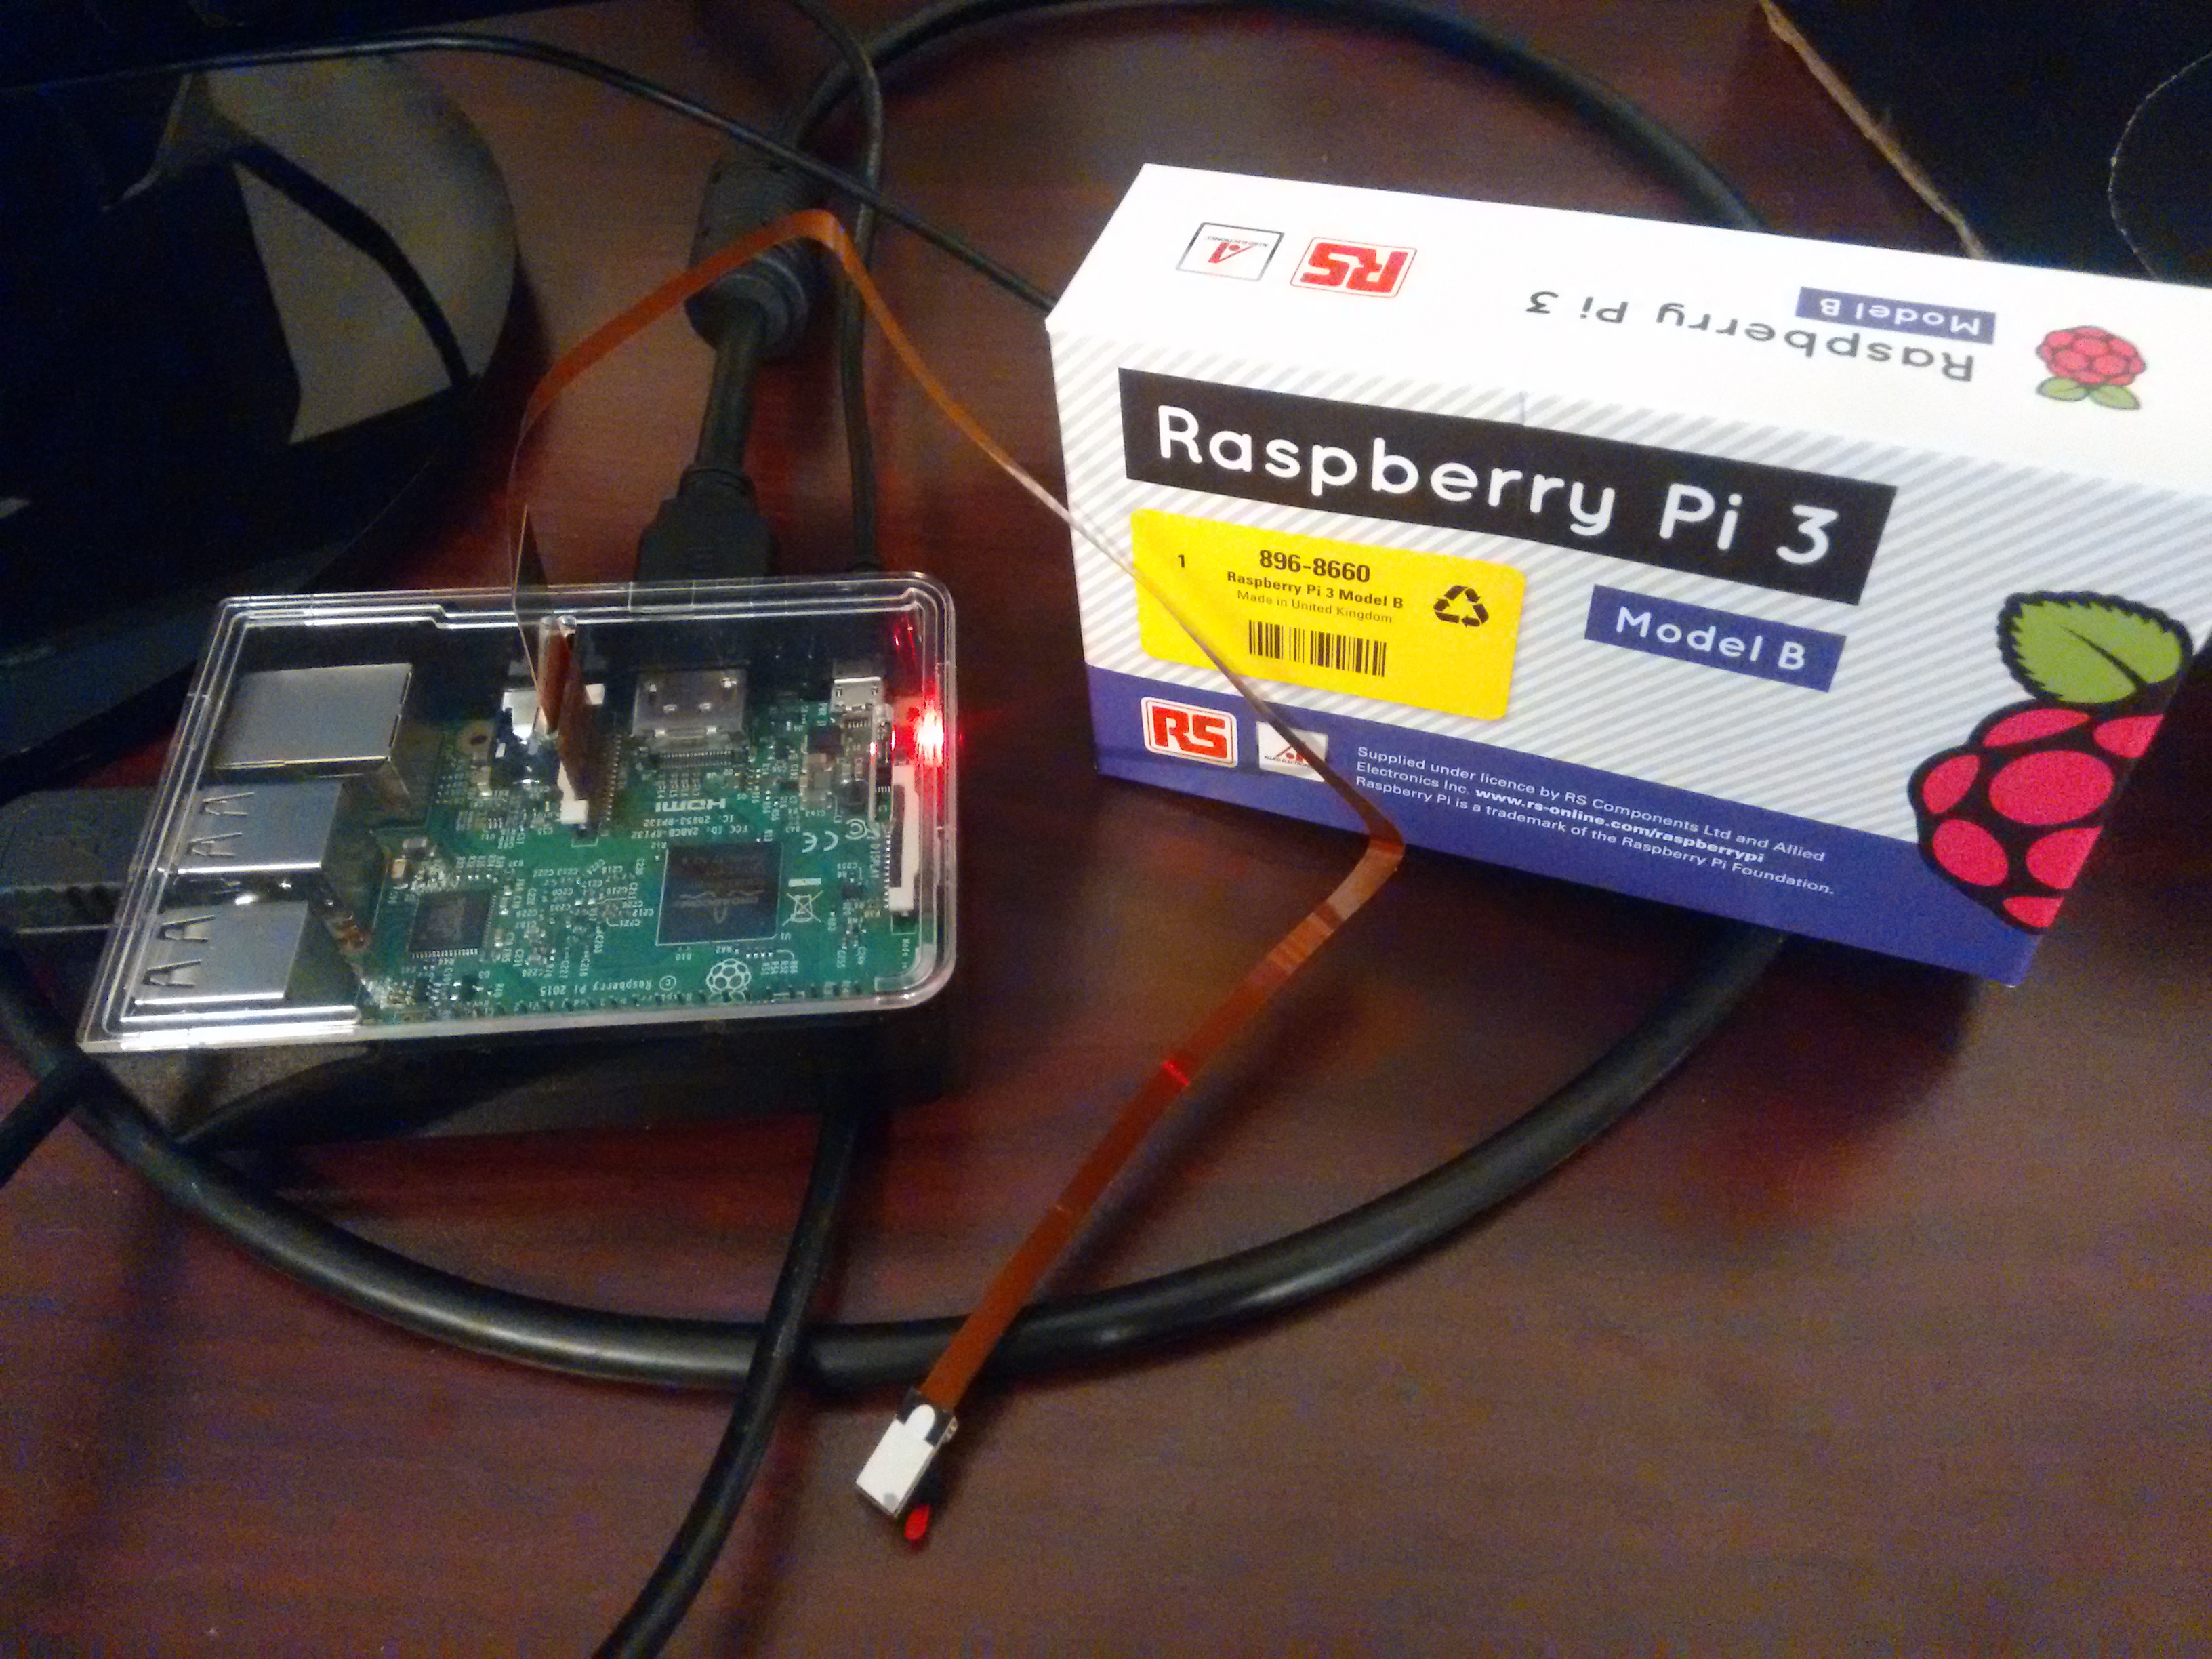
I just received a Raspberry Pi 3 Model B in the mail today! This little piece of hardware is pretty nifty.

I bought it from Adafruit with one of their cases and a little Spy Camera. I got the case because my apartment has carpet and I wanted to minimize the risk of electromagnetic discharge when handling this small computer.
As always, I find myself struggling when I need to get new pieces of hardware up and running. I felt like it is worthwhile to share my experience with others so that they know what to expect and what they can do to get their own up and running.
My setup
I use Fedora on all my personal computers. At the time of writing, I’m using Fedora 23. To get the RapberryPi working, I wasn’t able to use the NOOBS 1.9 operating system picker. I’m really not sure why. Instead I downloaded the Raspbian OS directly and used the dd command to get it onto my SD card.
First steps
You always expect to do a little bit of system configuration to get started. First thing is first:
- Expand your SD card storage
- Remove unnecessary packages
- Update the packages in your system
- Enable the camera
- Enable the ssh-server
I remove packages first because it potentially reduces the download and update time for packages you will remove anyway!
Raspbian configuration
The RPi comes with a nifty configuration utility. It has an interface in the terminal of the RaspberryPi, and doesn’t require knowledge of the command line. Simply open up a terminal, and run the command
sudo raspi-config
It is pretty cool. We will be using it quite a bit.
Expanding the SD Card storage
Within raspi-config, select the 1 Expand Filesystem option and reboot. Voila! You can check that you have successfully increased your storage with the command
df -h
and noticing the line with /dev/root. The option -h allows you to read the storage in human units.
Remove unnecessary packages
The RPi seems to have a few unecessary packages, I’m looking at you Wolfram Mathematica. Wolfram Mathematica alone takes up 700 MB on your SD card. I also removed LibreOffice since I don’t need word processing on an underpowered computer. To remove everything all at once, run the following command:
sudo apt-get remove wolfram-engine scratch penguinspuzzle python-pygame dillo netsurf-gtk libreoffice*
sudo apt-get remove minecraft-pi sonic-pi bluej greenfoot nodered claws-mail
I like to remove idle-python2.7. Unless you have a good reason, you should switch to python 3 at this point.
sudo apt-get remove idle-python2.7
If you don’t want java
sudo apt-get remove oracle-java8-jdk
Now you can run
sudo apt-get autoremove
to remove all the unnecessary packages that were left behind.
Here are a few posts that inspired me this.
Update the packages in your system
Now you can run
sudo aptitude upgrade
to upgrade your system.
After this, I was left with a system about 1.9 GB in size. I checked this with the command df -h.
Enable the camera
I’ll be using the camera for a few projects. You need to enable it manually. We will use the raspi-config interface for this.
Select the option that enables the camera, and reboot your system.
Here is the reference to the RPi documentation.
Enabling ssh
Apparently this is already enabled by default. You can skip this step.
Within the raspi-config, you should enable sshd. This is particularly useful. I do recommend changing the password with the command passwd first. The default password is raspberry.
Install your useful software
I like vim and iceweasle (Firefox)!
WiFi woes
The RaspberryPi3 is rather new and bugs are to be expected. I guess we are back to how linux was in 2007 when having a working WiFi connection was the Holy Grail!!!.
I found two solutions to this problem:
- I setup a bridge between my laptop’s WiFi and an old ethernet cable I had lying around. This allowed me to finally use
sshandgit! - Edit the files add the line
IPQoS cs0 cs0to the files/etc/ssh/sshd_configand/etc/ssh/ssh_config. Adding the line to the first one will allow other computers to connect to the RaspberryPi and adding the lines to the second one will allow you to connect to outside servers. This solution was outlined in the forum post above.
Static IP address
To setup a static IP address, connect to your WiFi and enter the password. Then you can add the following lines to the file /etc/dhcpcd.conf
SSID WirelessFreezer
static ip_address=192.168.1.9/24
static routers=192.168.1.1
static domain_name_servers=192.168.1.1
Personal Tweaks
Your own computer name
You can change the name of your RaspberryPi computer just as you would change the name of a normal Linux computer. Edit the file /etc/hostname to include whatever name you want and restart your computer.
Visual Noise
The default configuration adds quite a bit of visual noise when logging in via ssh.
You can edit the file /etc/motd with your own little message to show everytime you log in by ssh.
You can leave it blank if it annoys you to see a long message about Debian’s software licensing.
You can remove the information about the last login by changing the line containing PrintLastLog from yes to no in /etc/ssh/sshd_config.