Modding my Sony MDRV6 headphones
April 16, 2017
I’m sharing the little mod I just completed for my Sony MDRV6 headphones. The whole process took a little over 1 hour and a half.
I originally purchased these headphones in 2011 to block out the noise in my office. The constant humming of the fan was driving me mad. They have a great sound at a very affordable price. I take these headphones on all plane rides and they make my experience flying so much better. Almost 6 years later, they still haven’t failed.
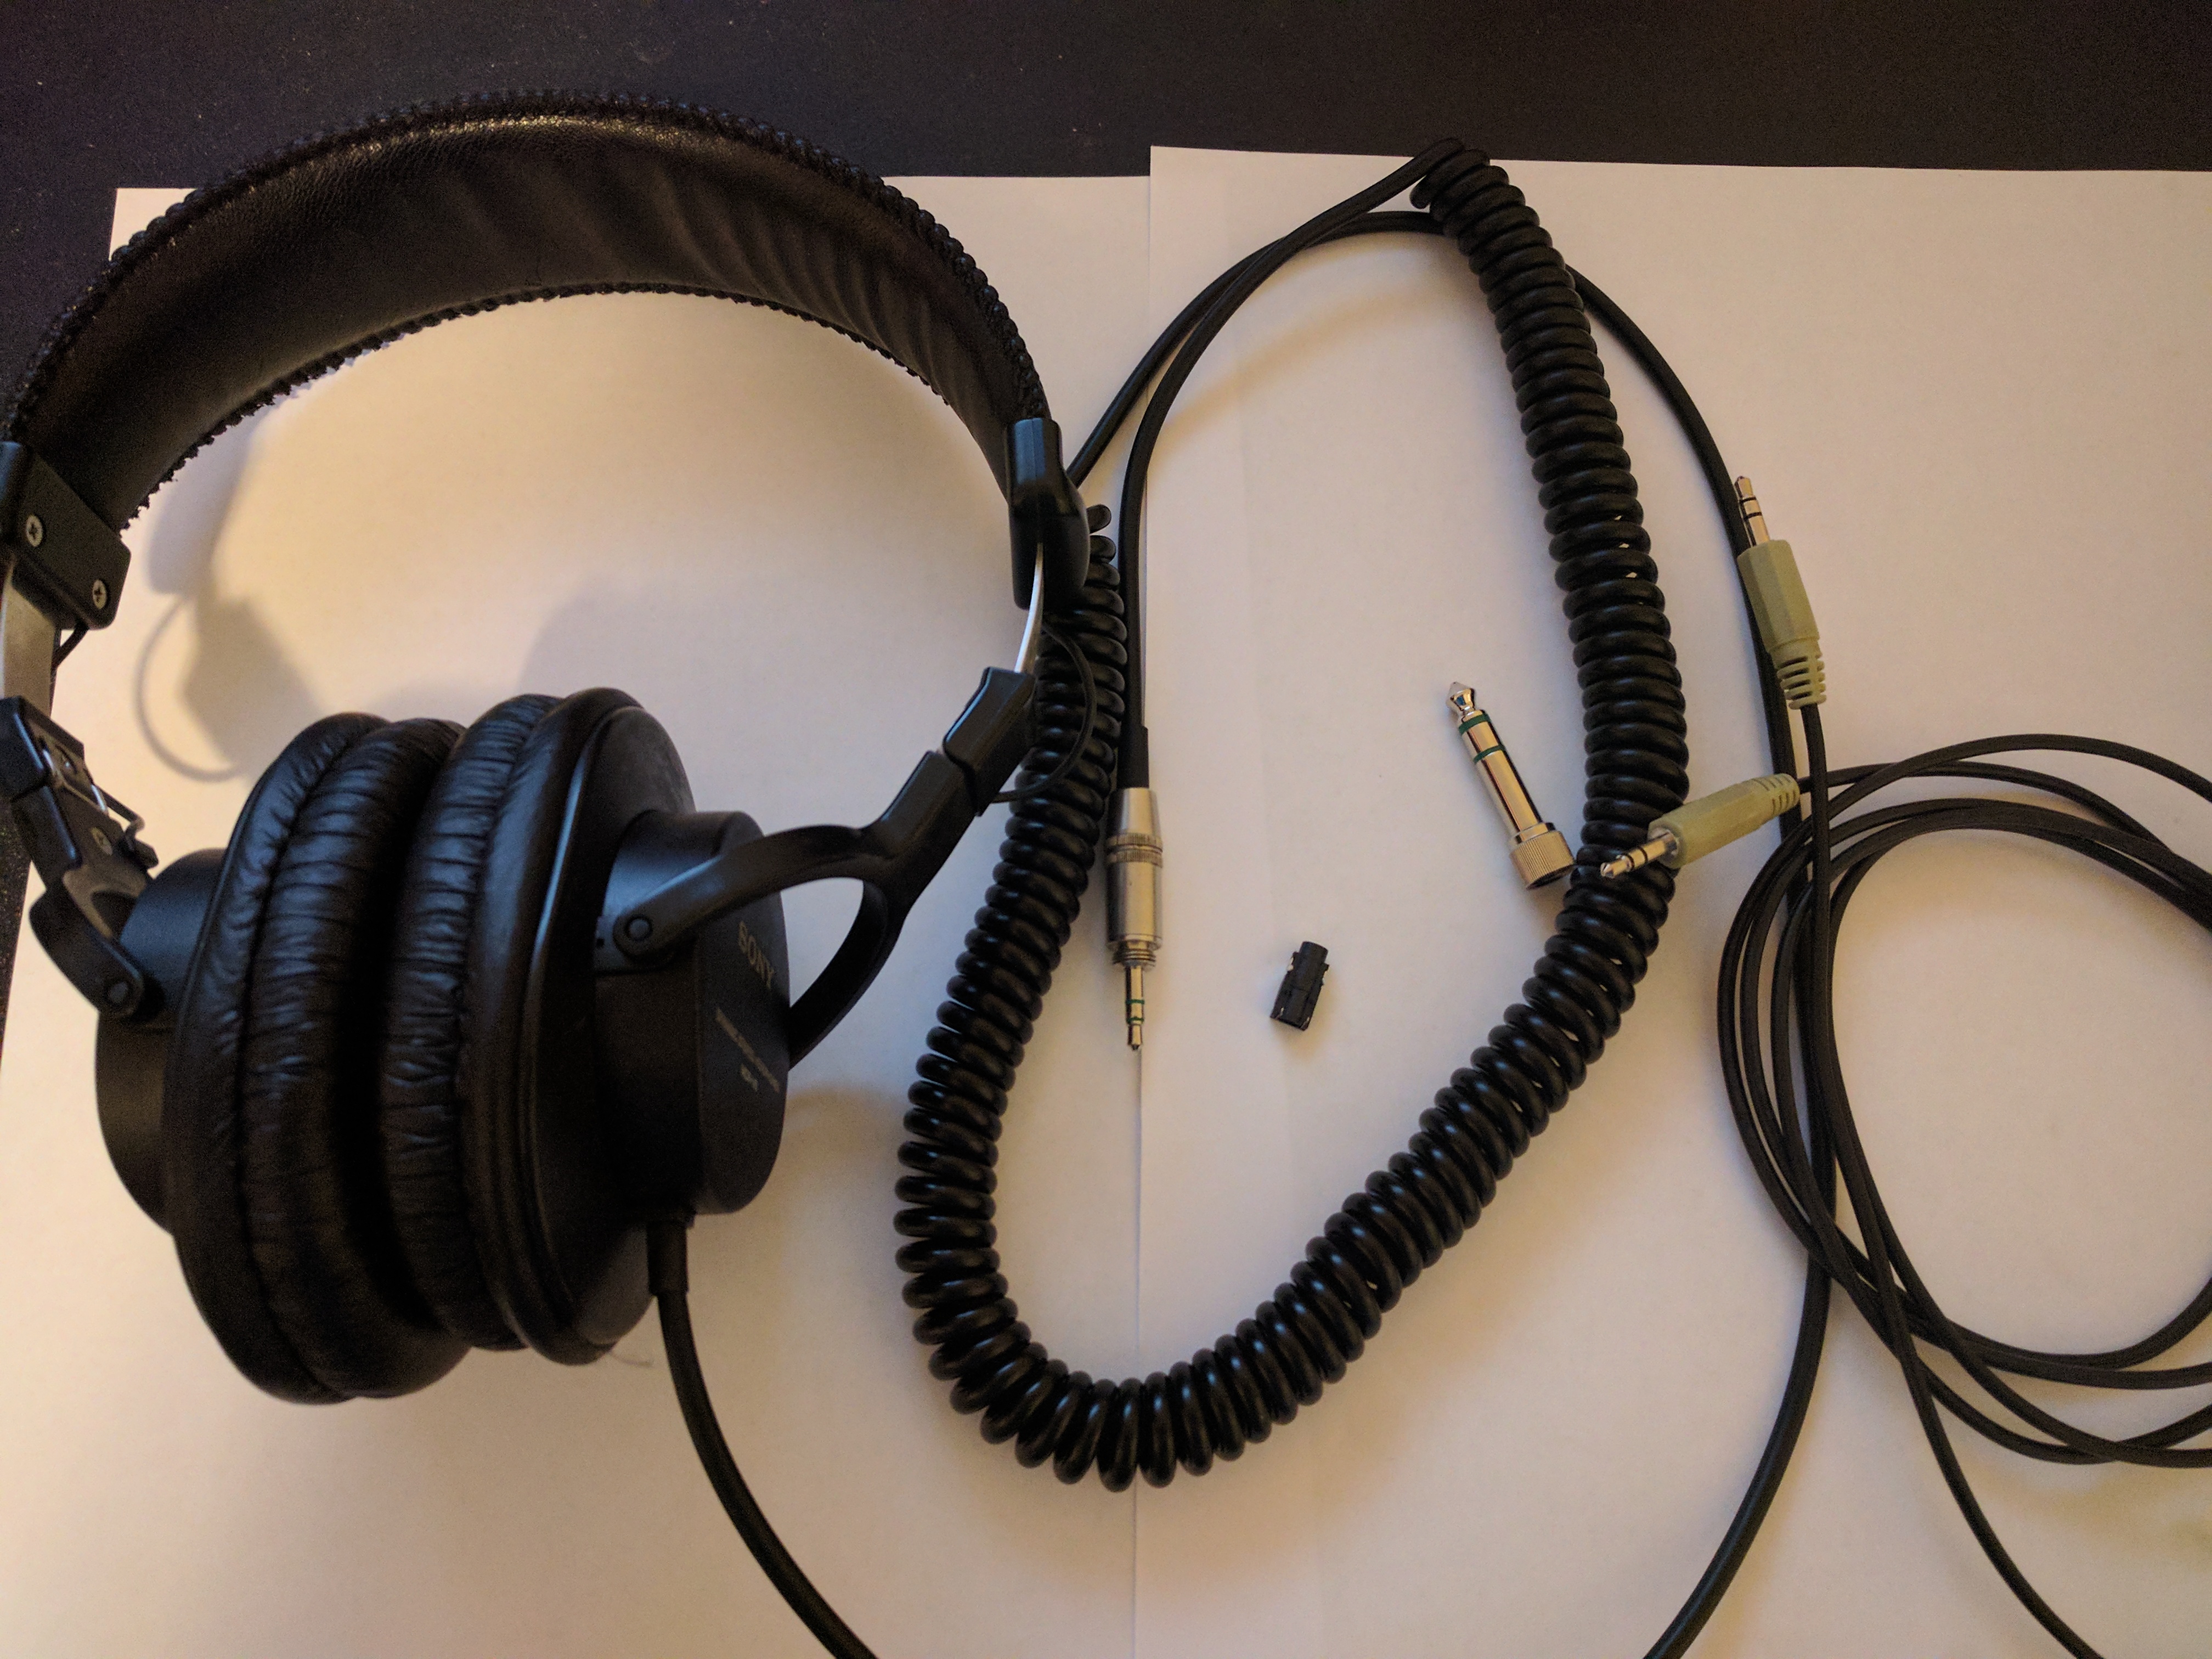
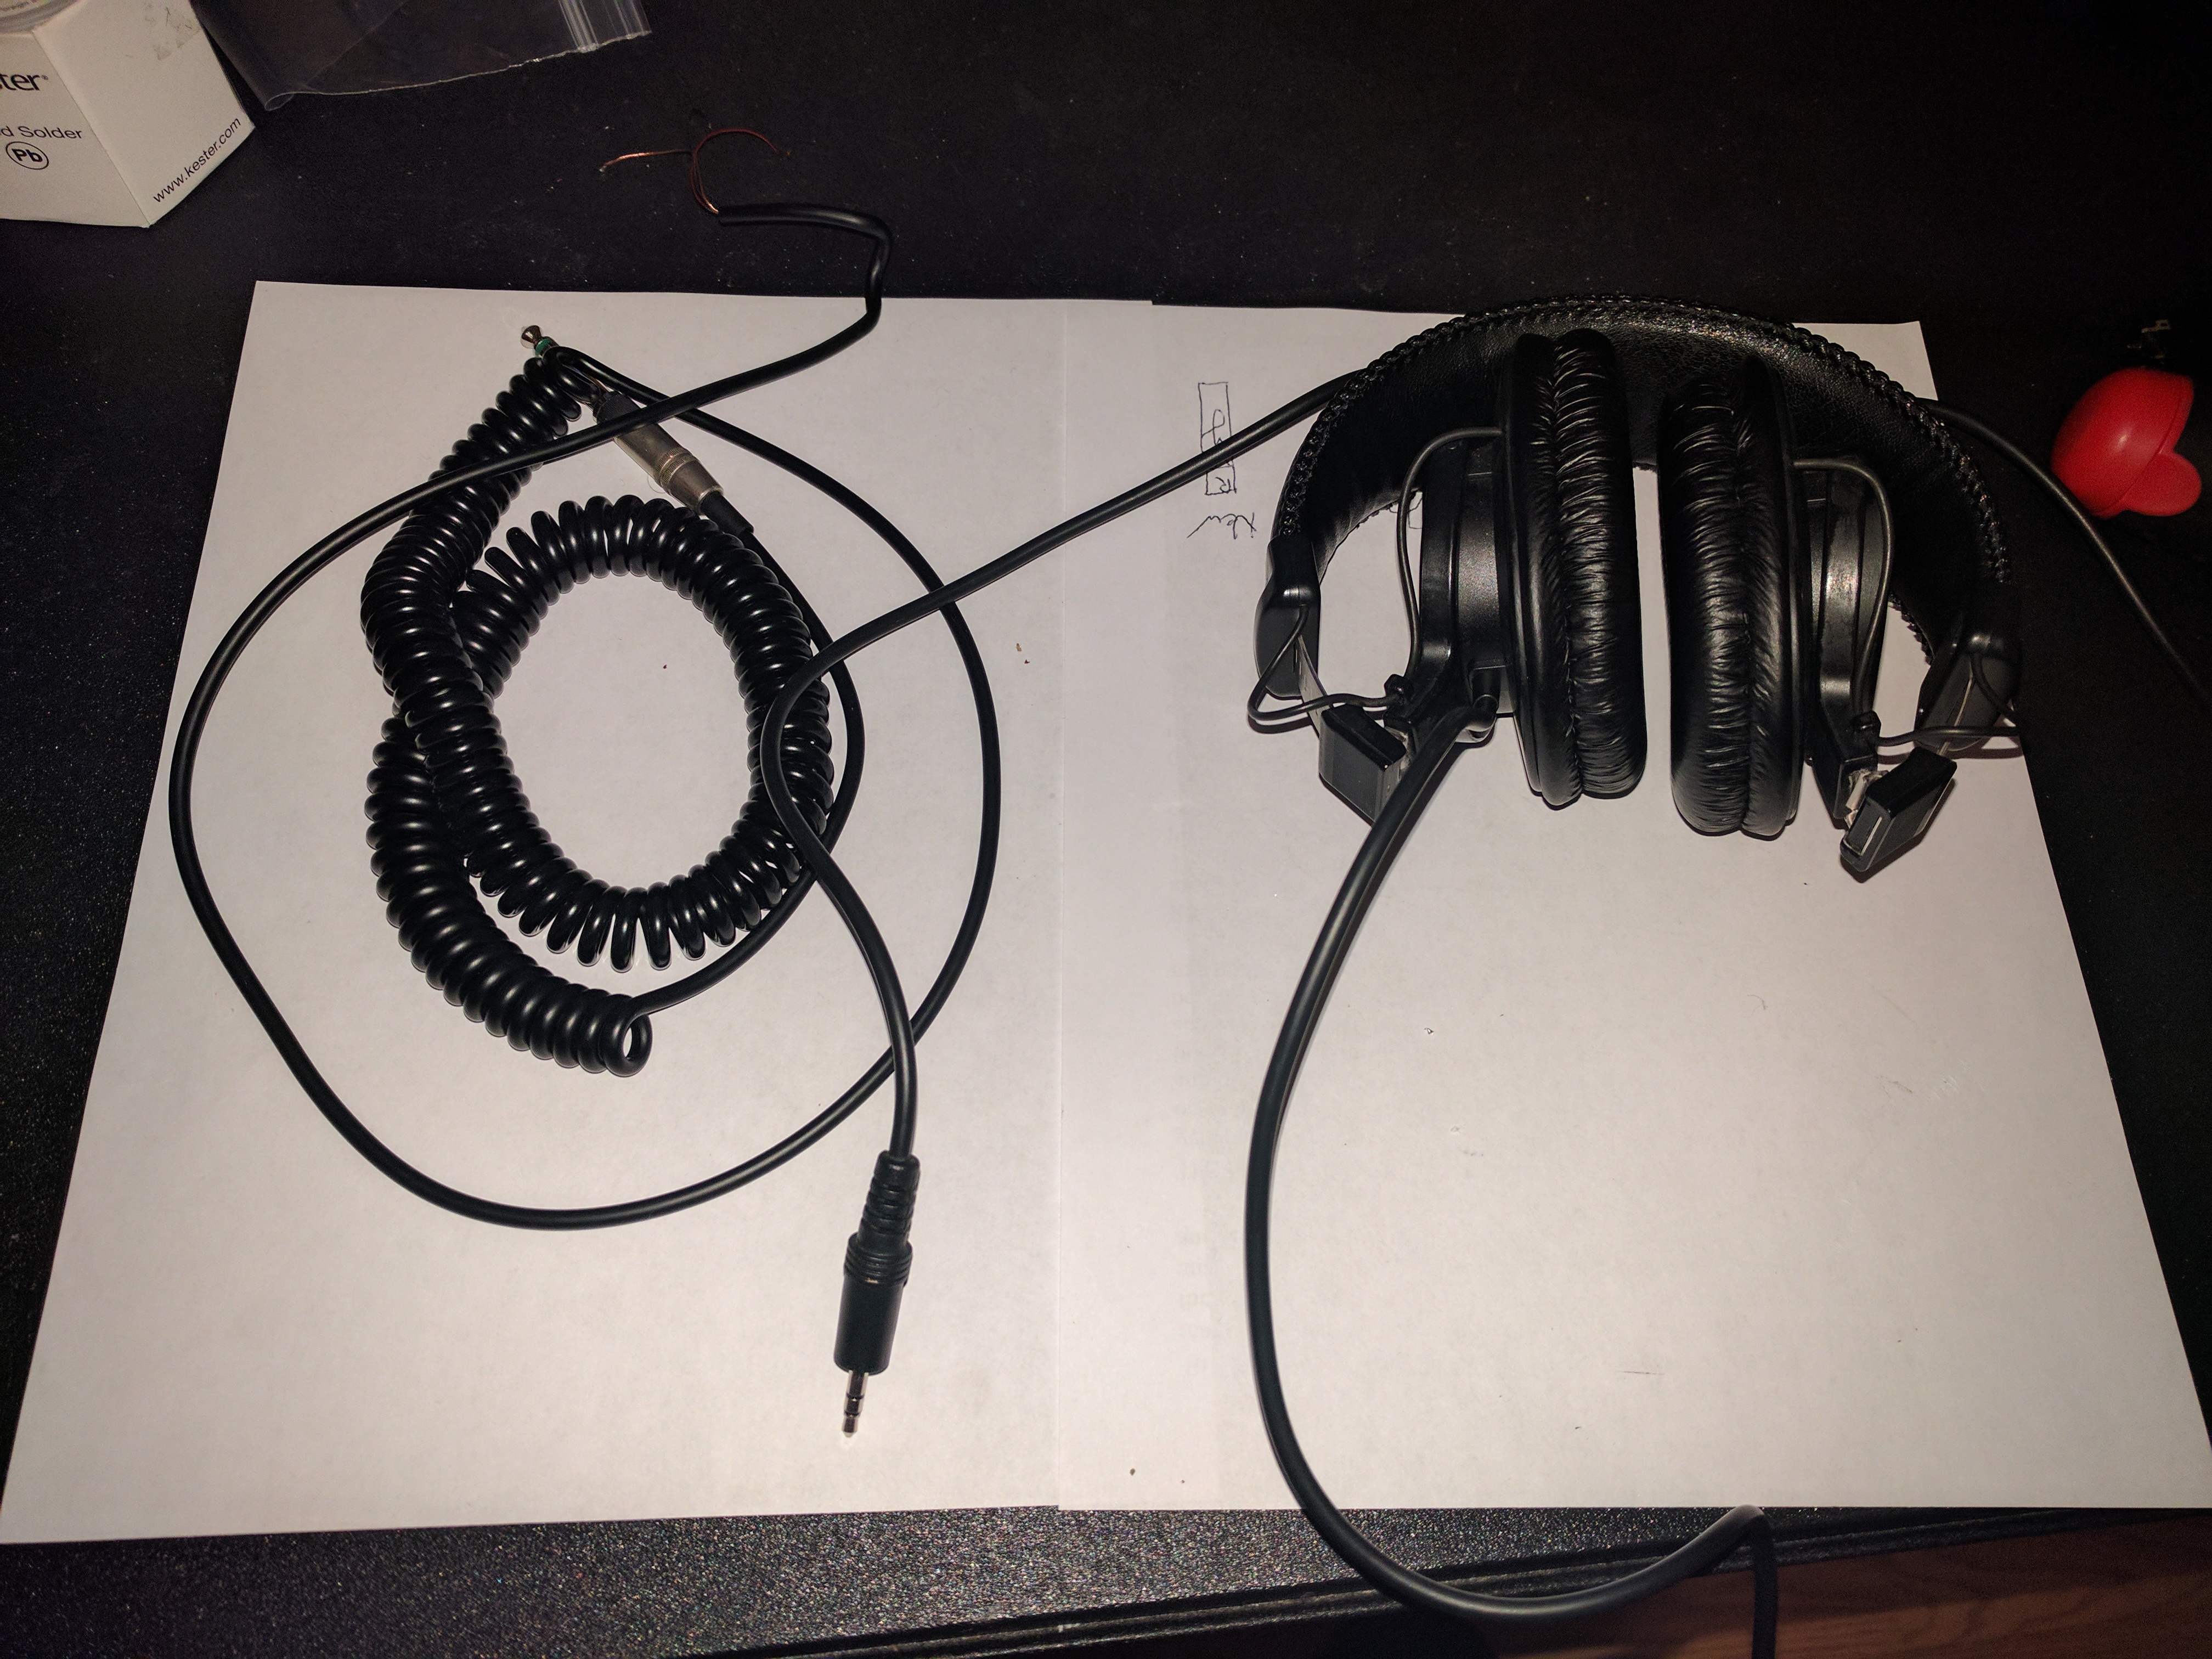
This said, I felt like it was time to address my biggest pain point: the long coily cord that made it difficult to take these on the bus. Using a screwdriver, a soldering iron, a multimeter, and a knife as a wire stripper, I removed the old coiled cord and replaced it with the cable an connector of an old audio extension cord that I wasn’t using. The following is a short account of how you may do this yourself on your pair of MDRV6.
Step 1: Gather your tools
My initial plan was to add a removable connector plug. To do this, I gathered together my headphones, and the AUX cable, along with a small 3.5 mm connector. I found the 3.5 mm connector for less than a dollar on eBay. It took about 1 month to arrive from China at the time. That said, as I went through the build, I opted against adding the removable connector. I simply thought it wouldn’t be very robust.
Step 2: Open your headphones
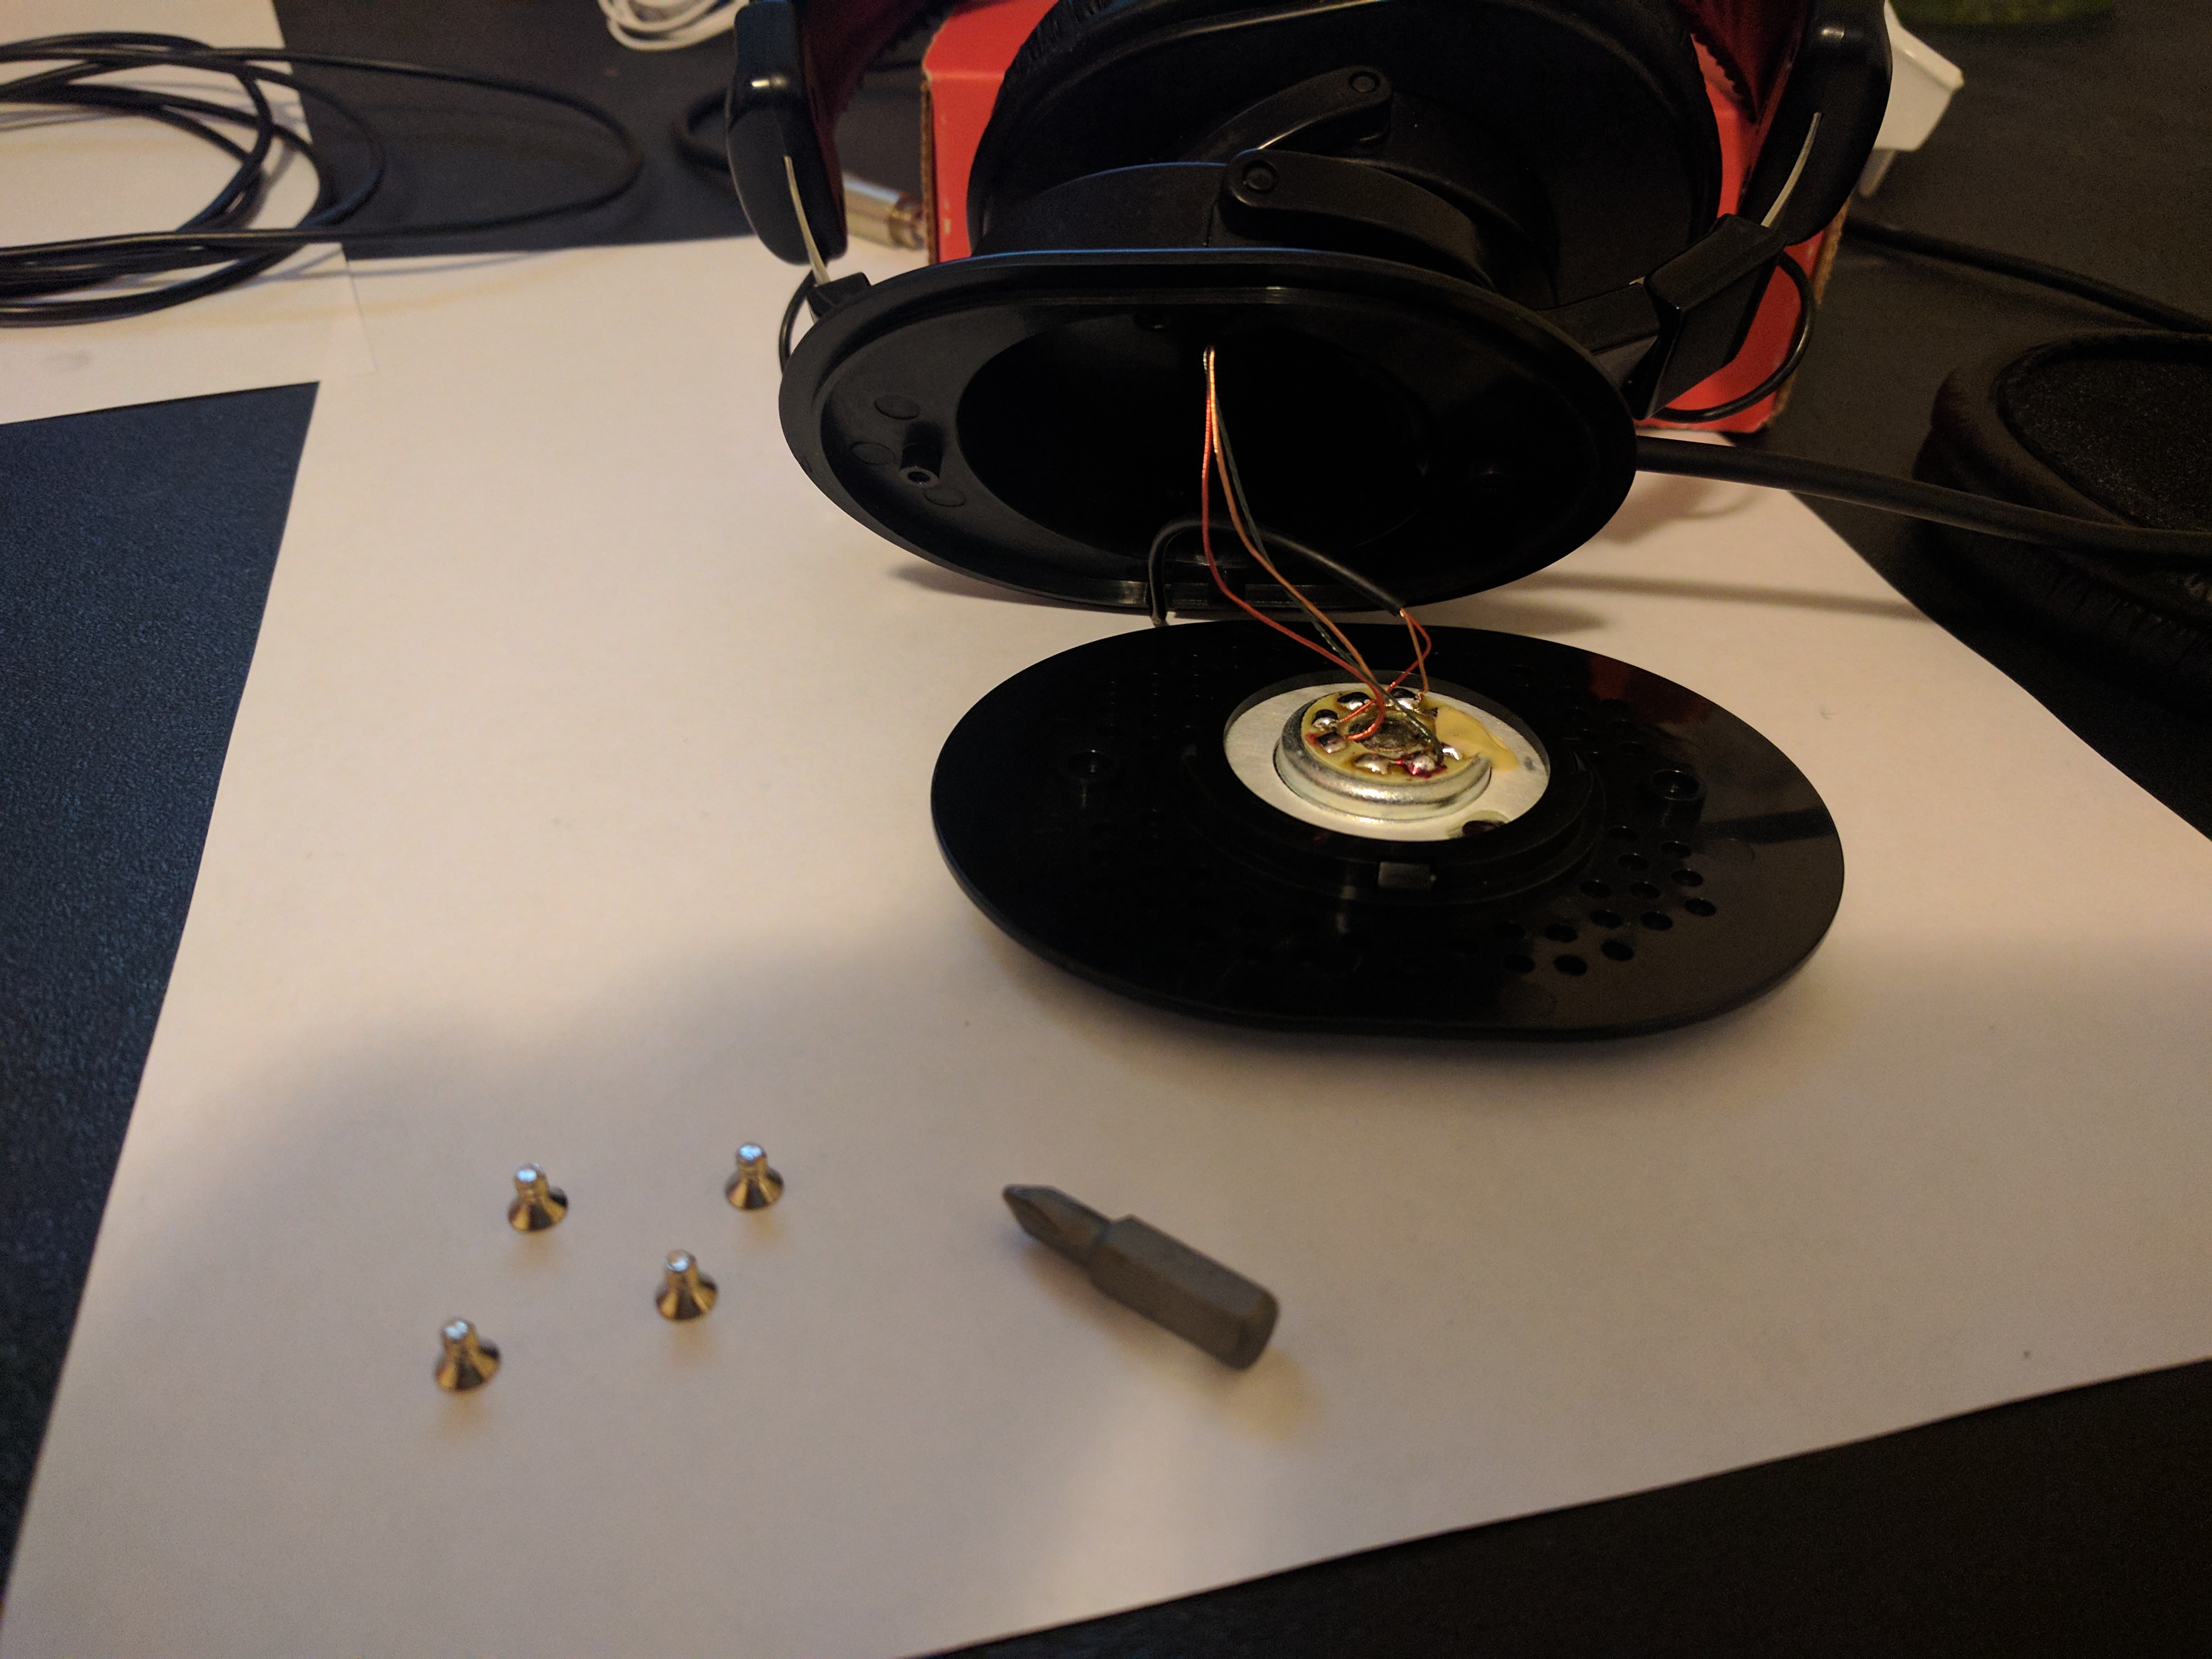
Using a narrow Phillips screwdriver, I opened up the headphones by removing 4 screws that are under the earpads. Note the earpads can be readily removed by stretching them over the plastic.
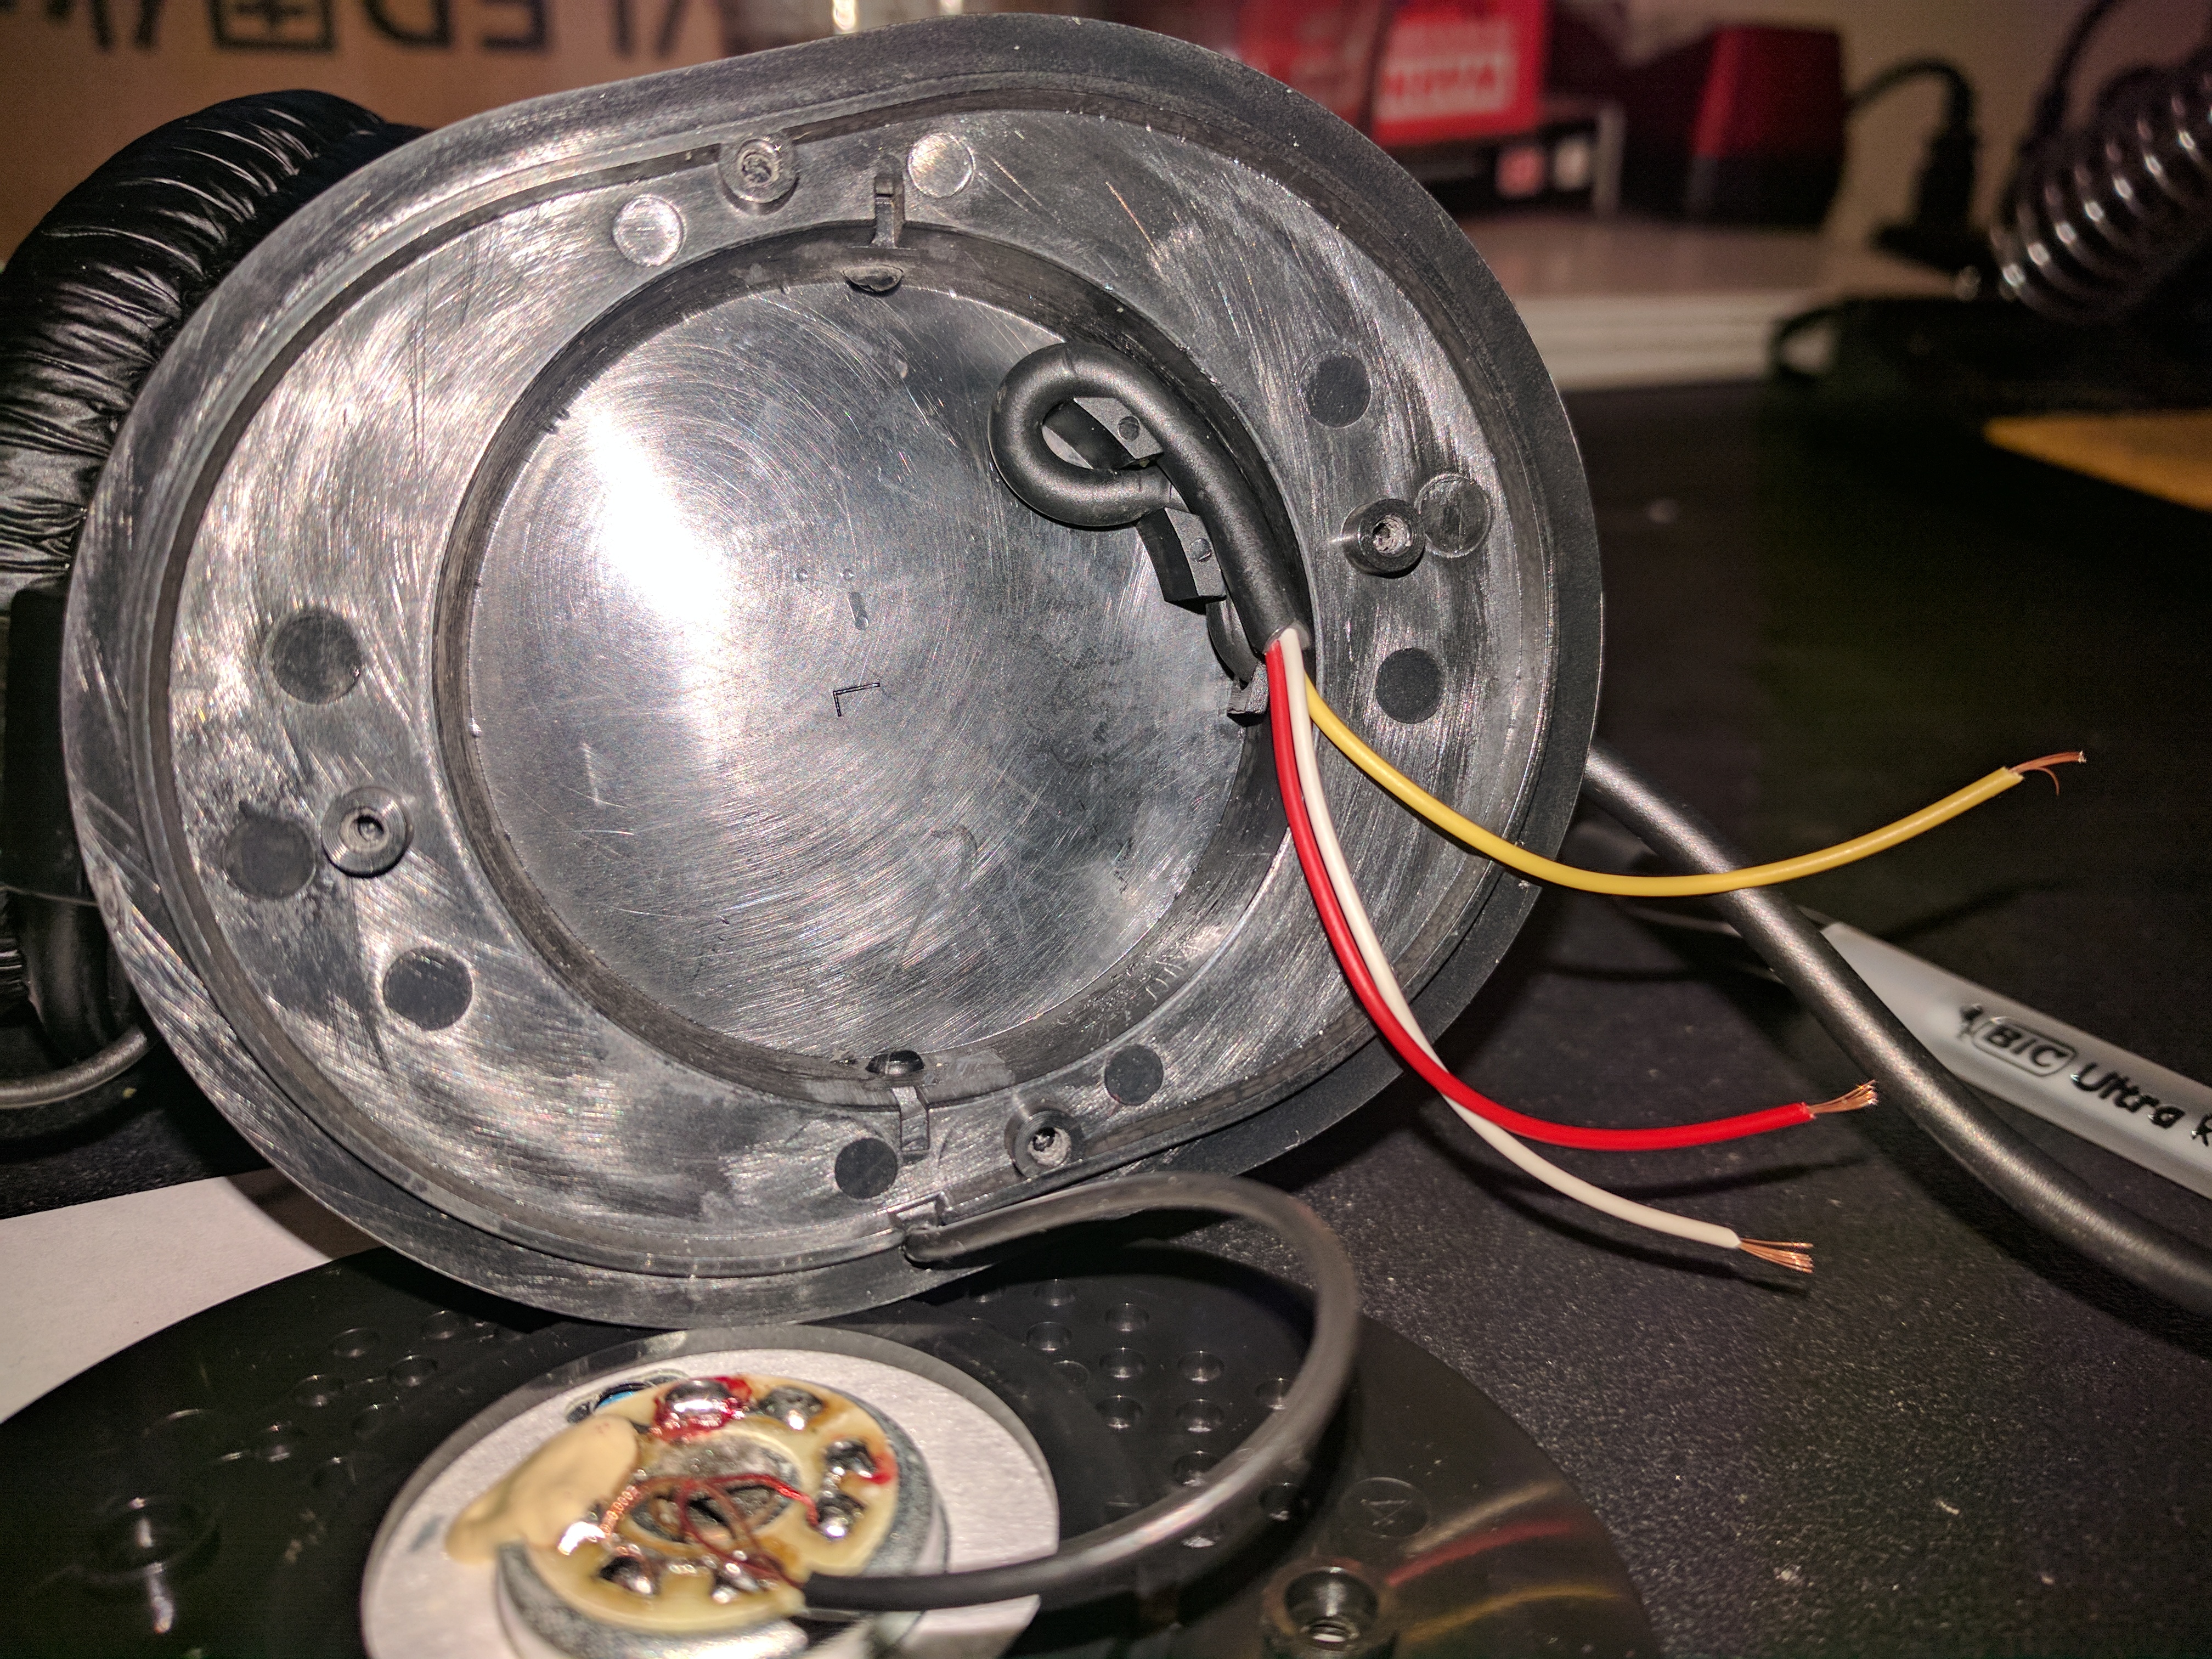
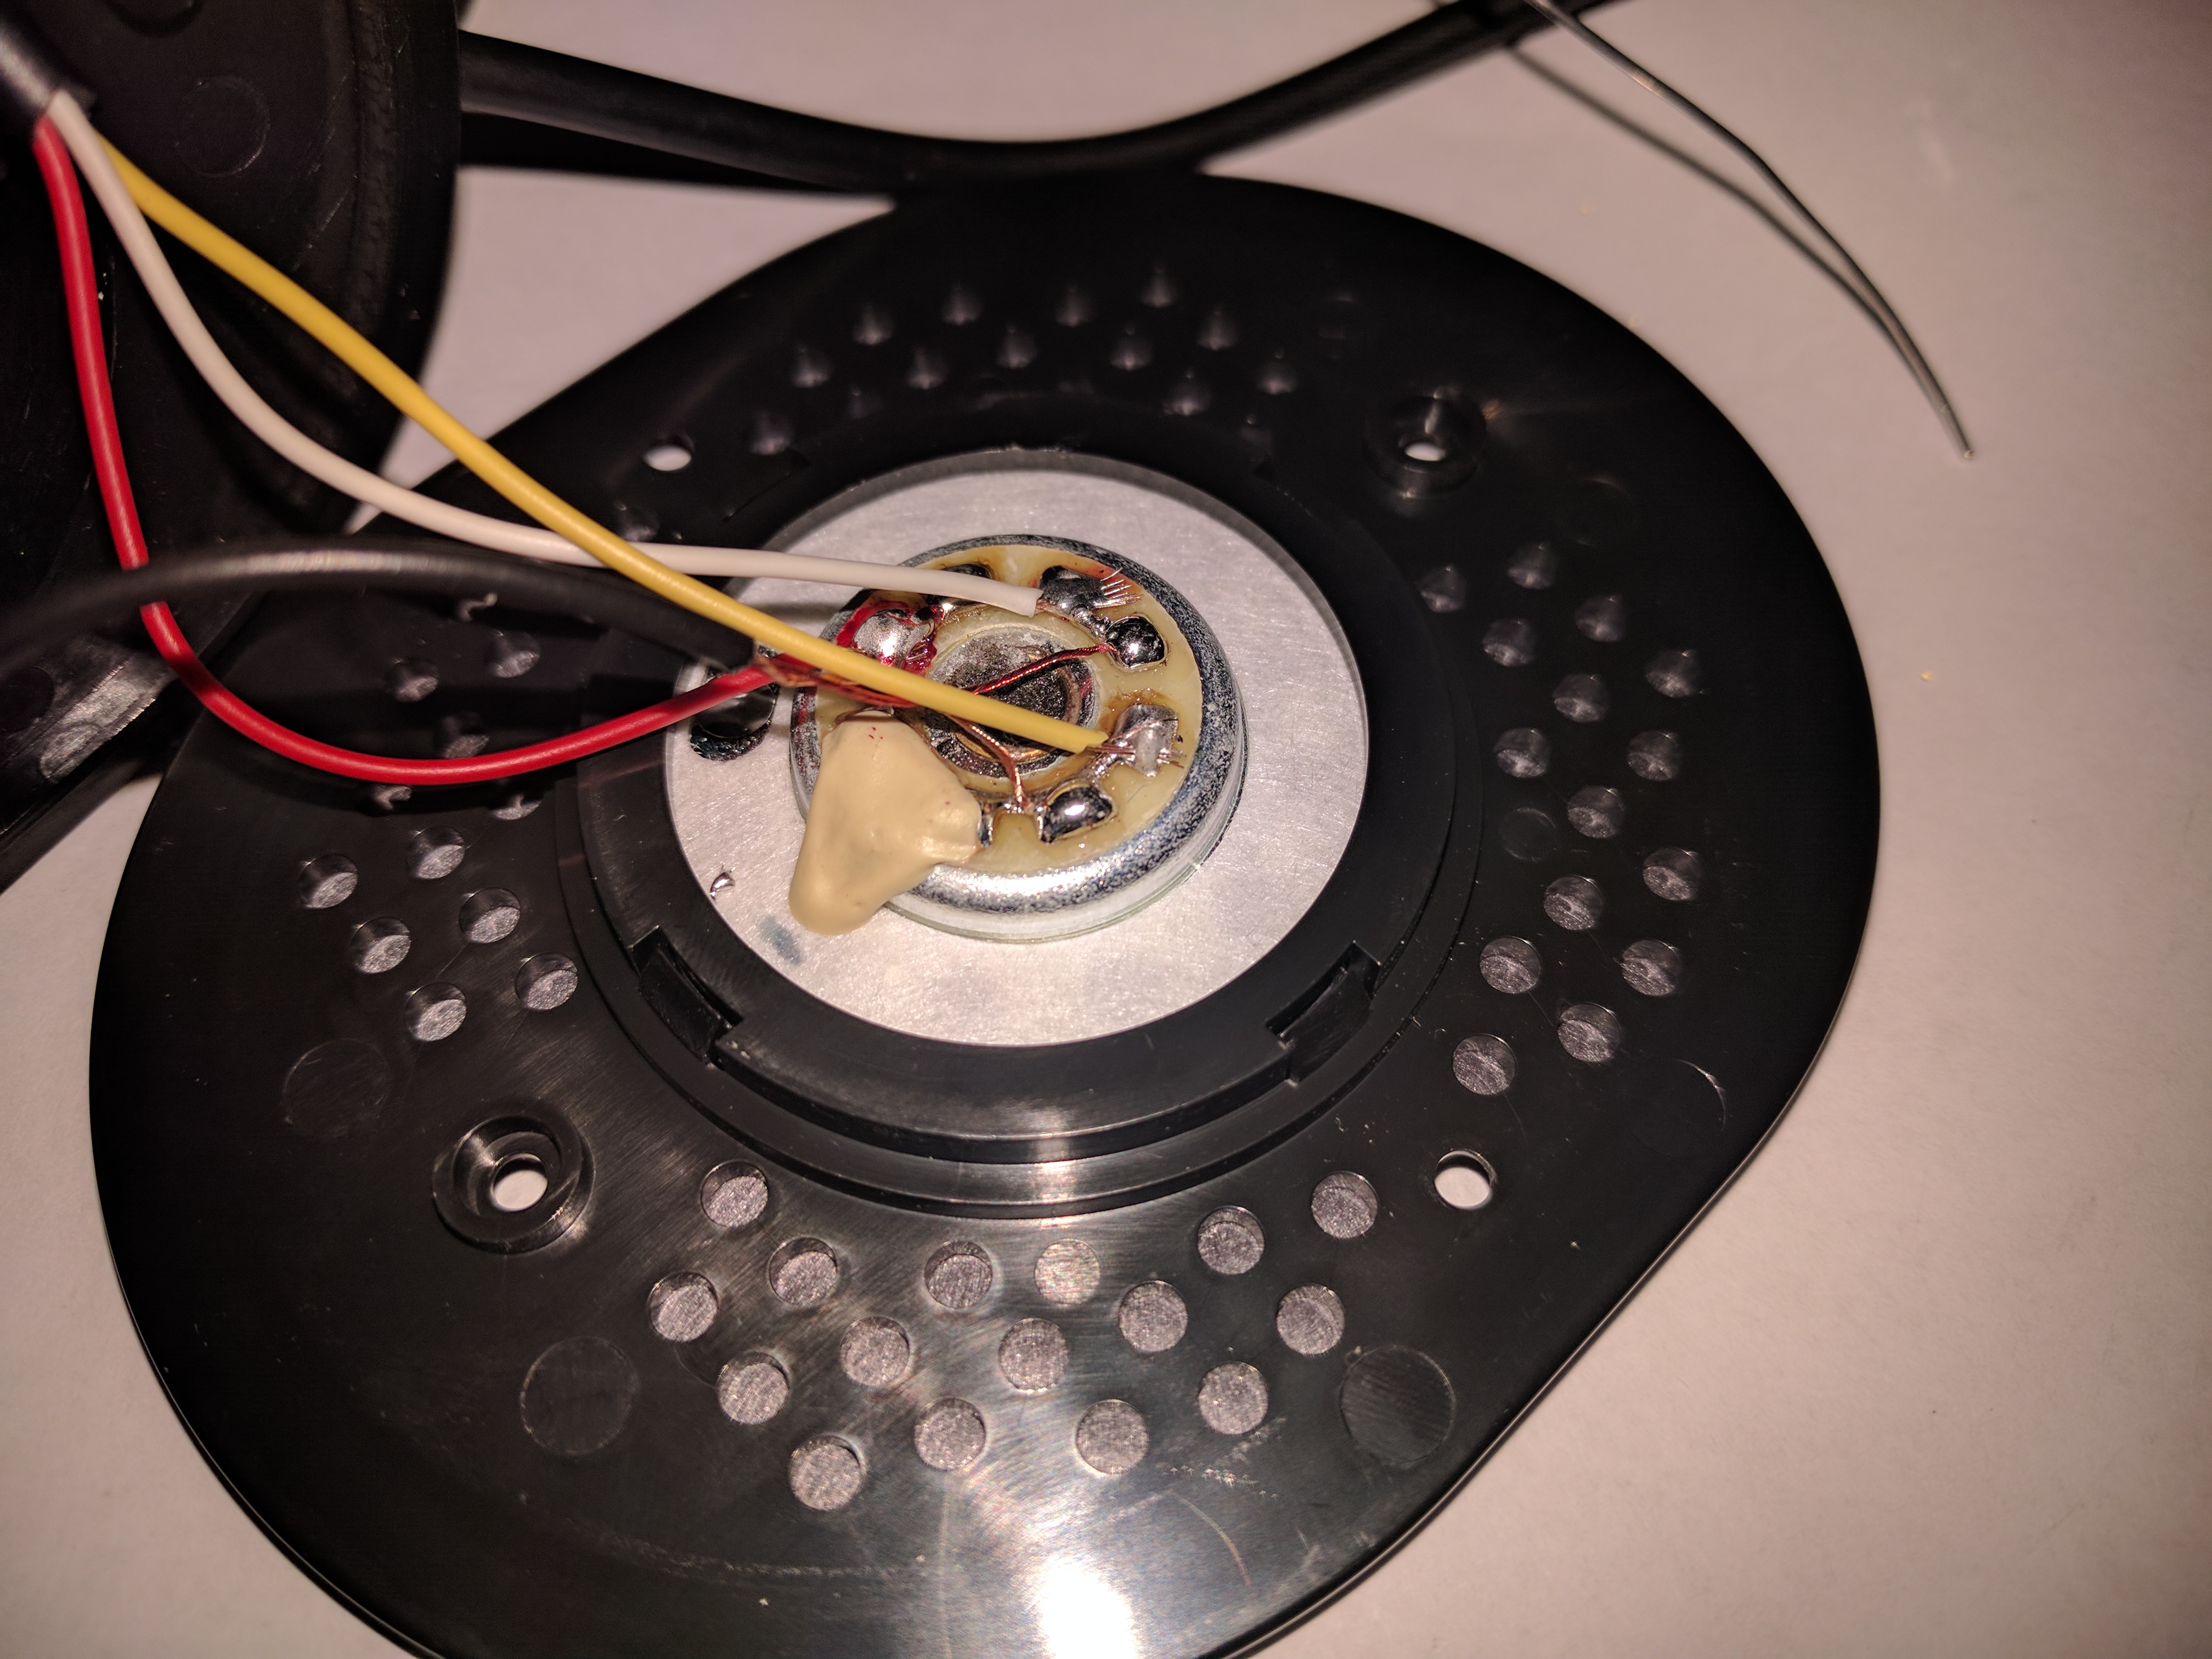
Once you have the headphones opened up, you will want to take note where the wires are connected. Note down the colors. Something that I will make more obvious in later pictures is that the coil is actually wound around the plastic housing inside the headphones. This acts are a tension relief in case you ever pull on your chord. Make a mental note of how this is done. You will want to do the same for your wire.
Step 3: Unsolder the wires
Using your soldering iron, remove the 3 wires from the driver. It took a little more heat than I was used to, presumably because the solder used may have been unleaded. Using a multimeter, find out where each pin on the 3.5 mm connector lead. Carefully feed out the old cable from the hole in headset. Note that you should keep the two wires that lead to the right speaker as they are.
Step 4: Get your new cable ready
Find your new cable, and cut it so that the length with the male connector (you know, the one you will use) is to your liking.
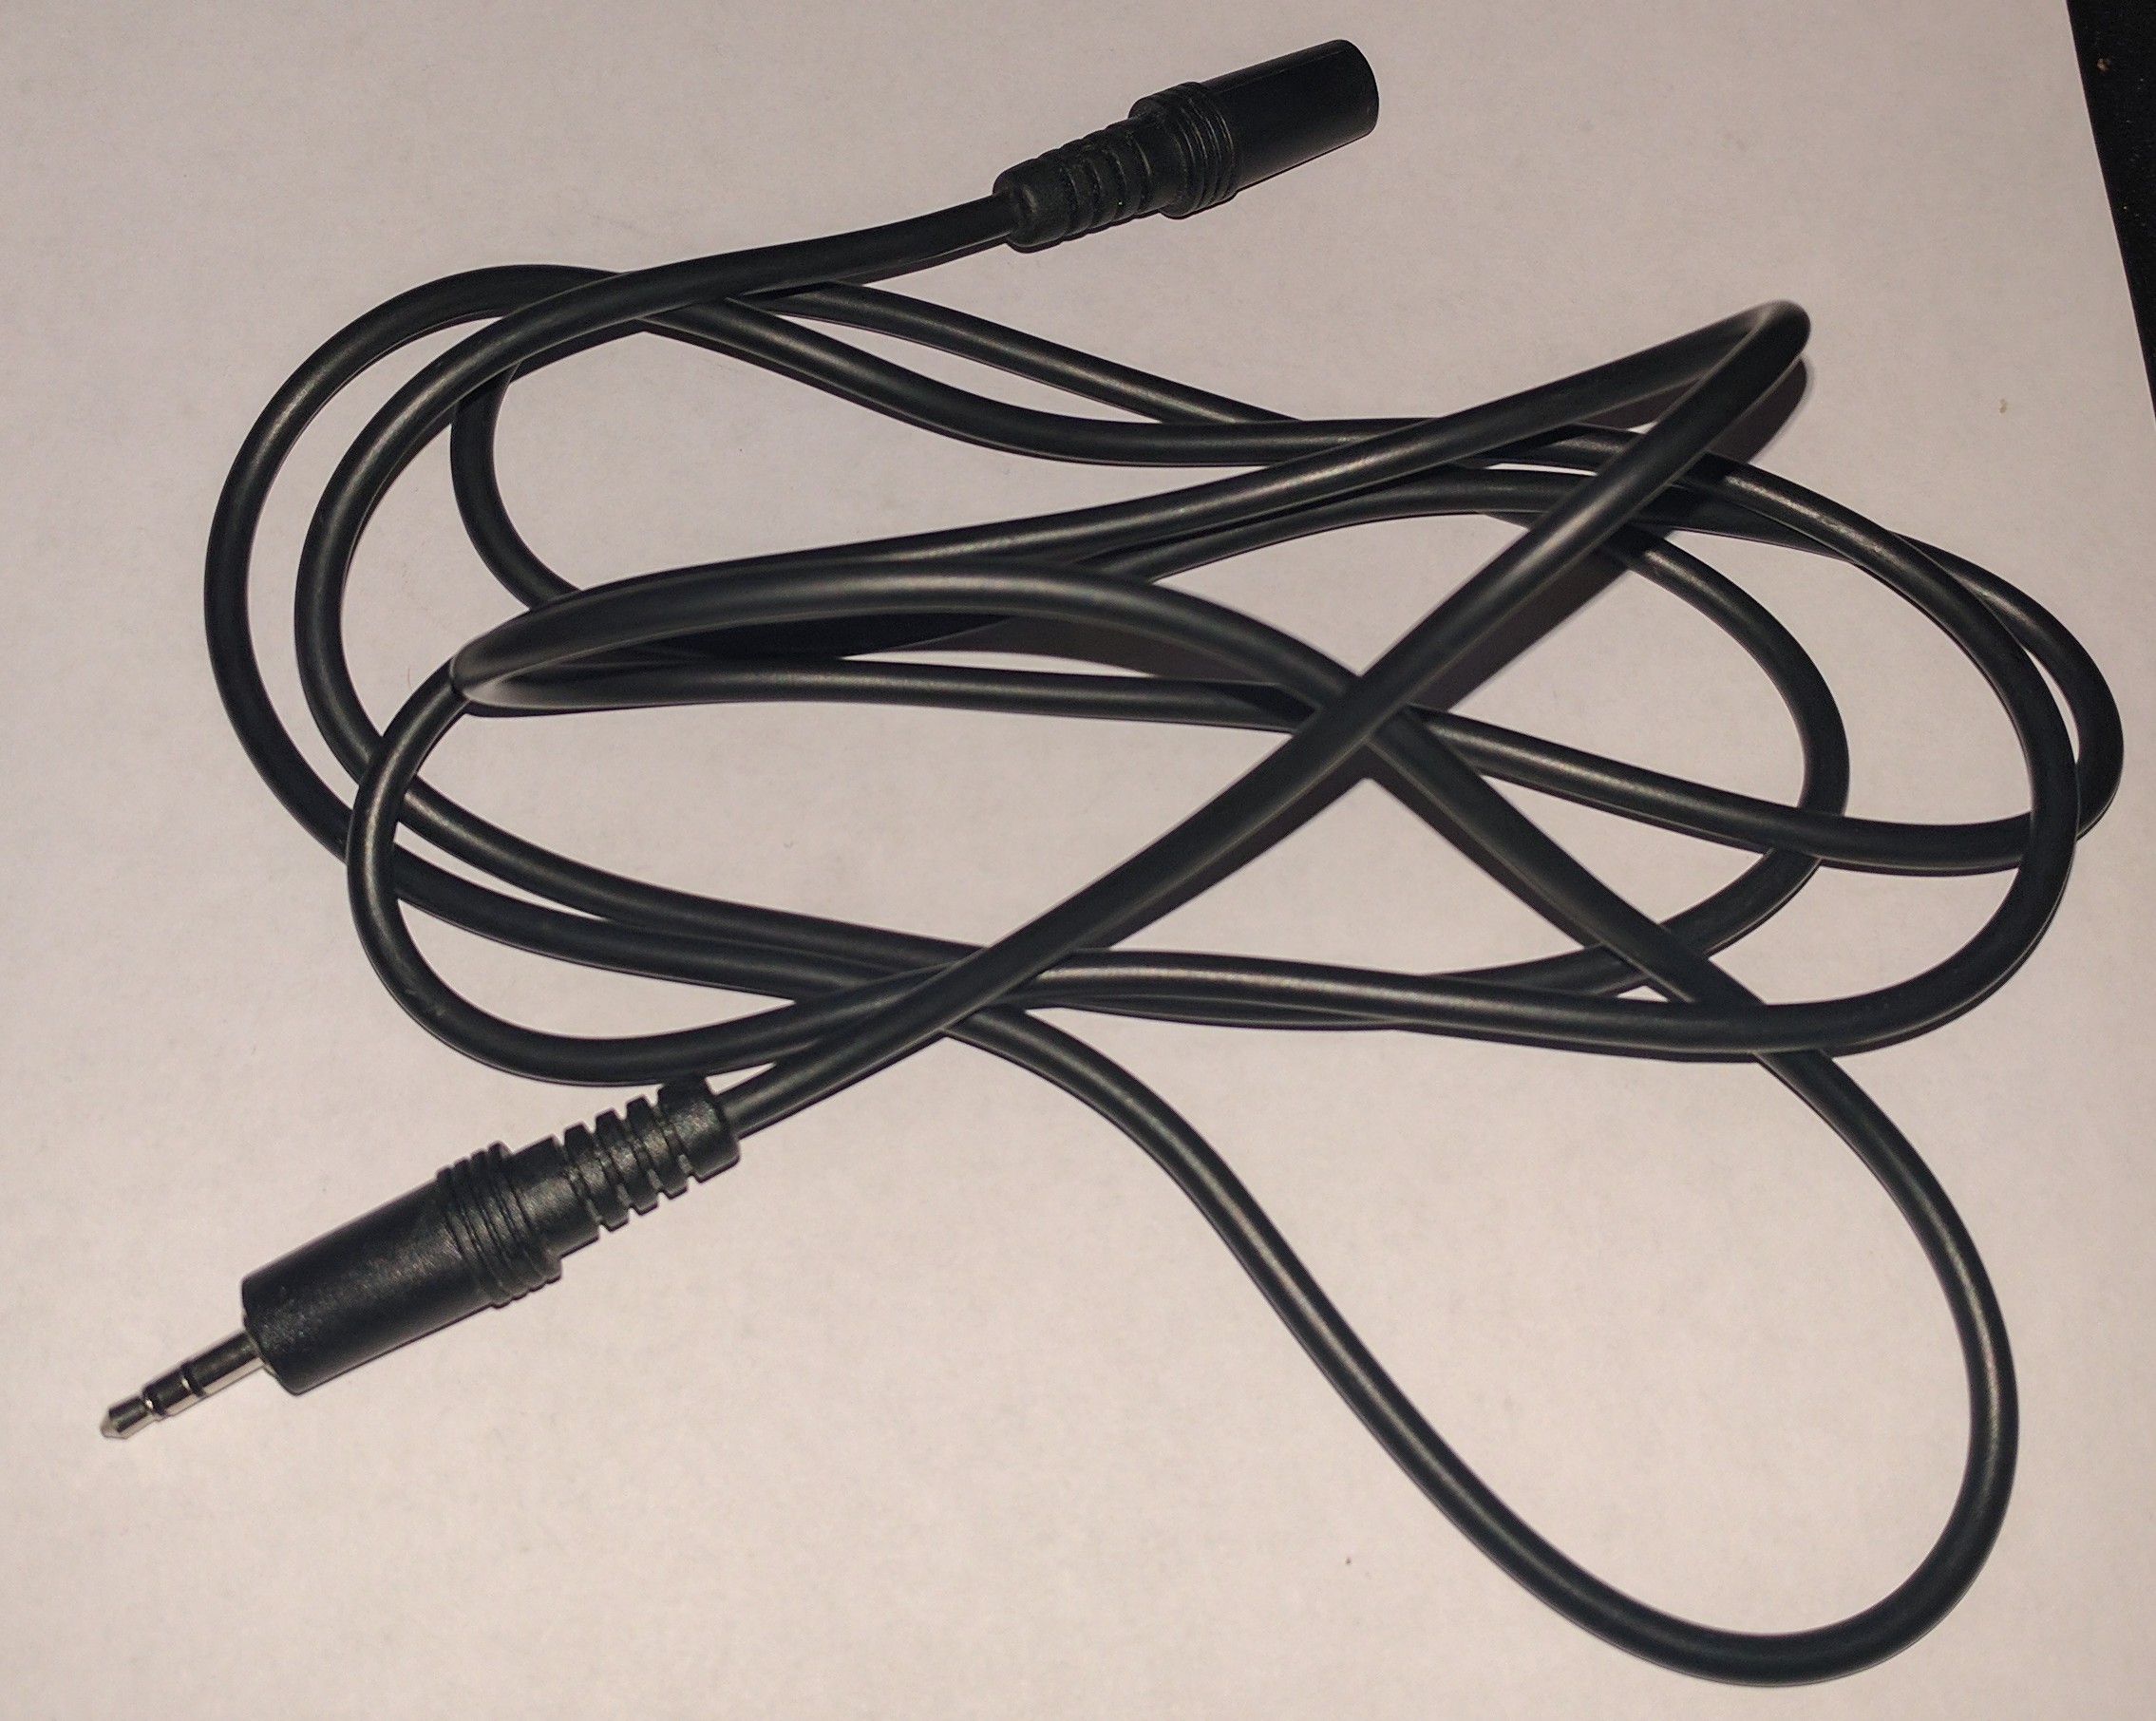
Here is how my cable looked when I started:
Afterward, I cut it to length:
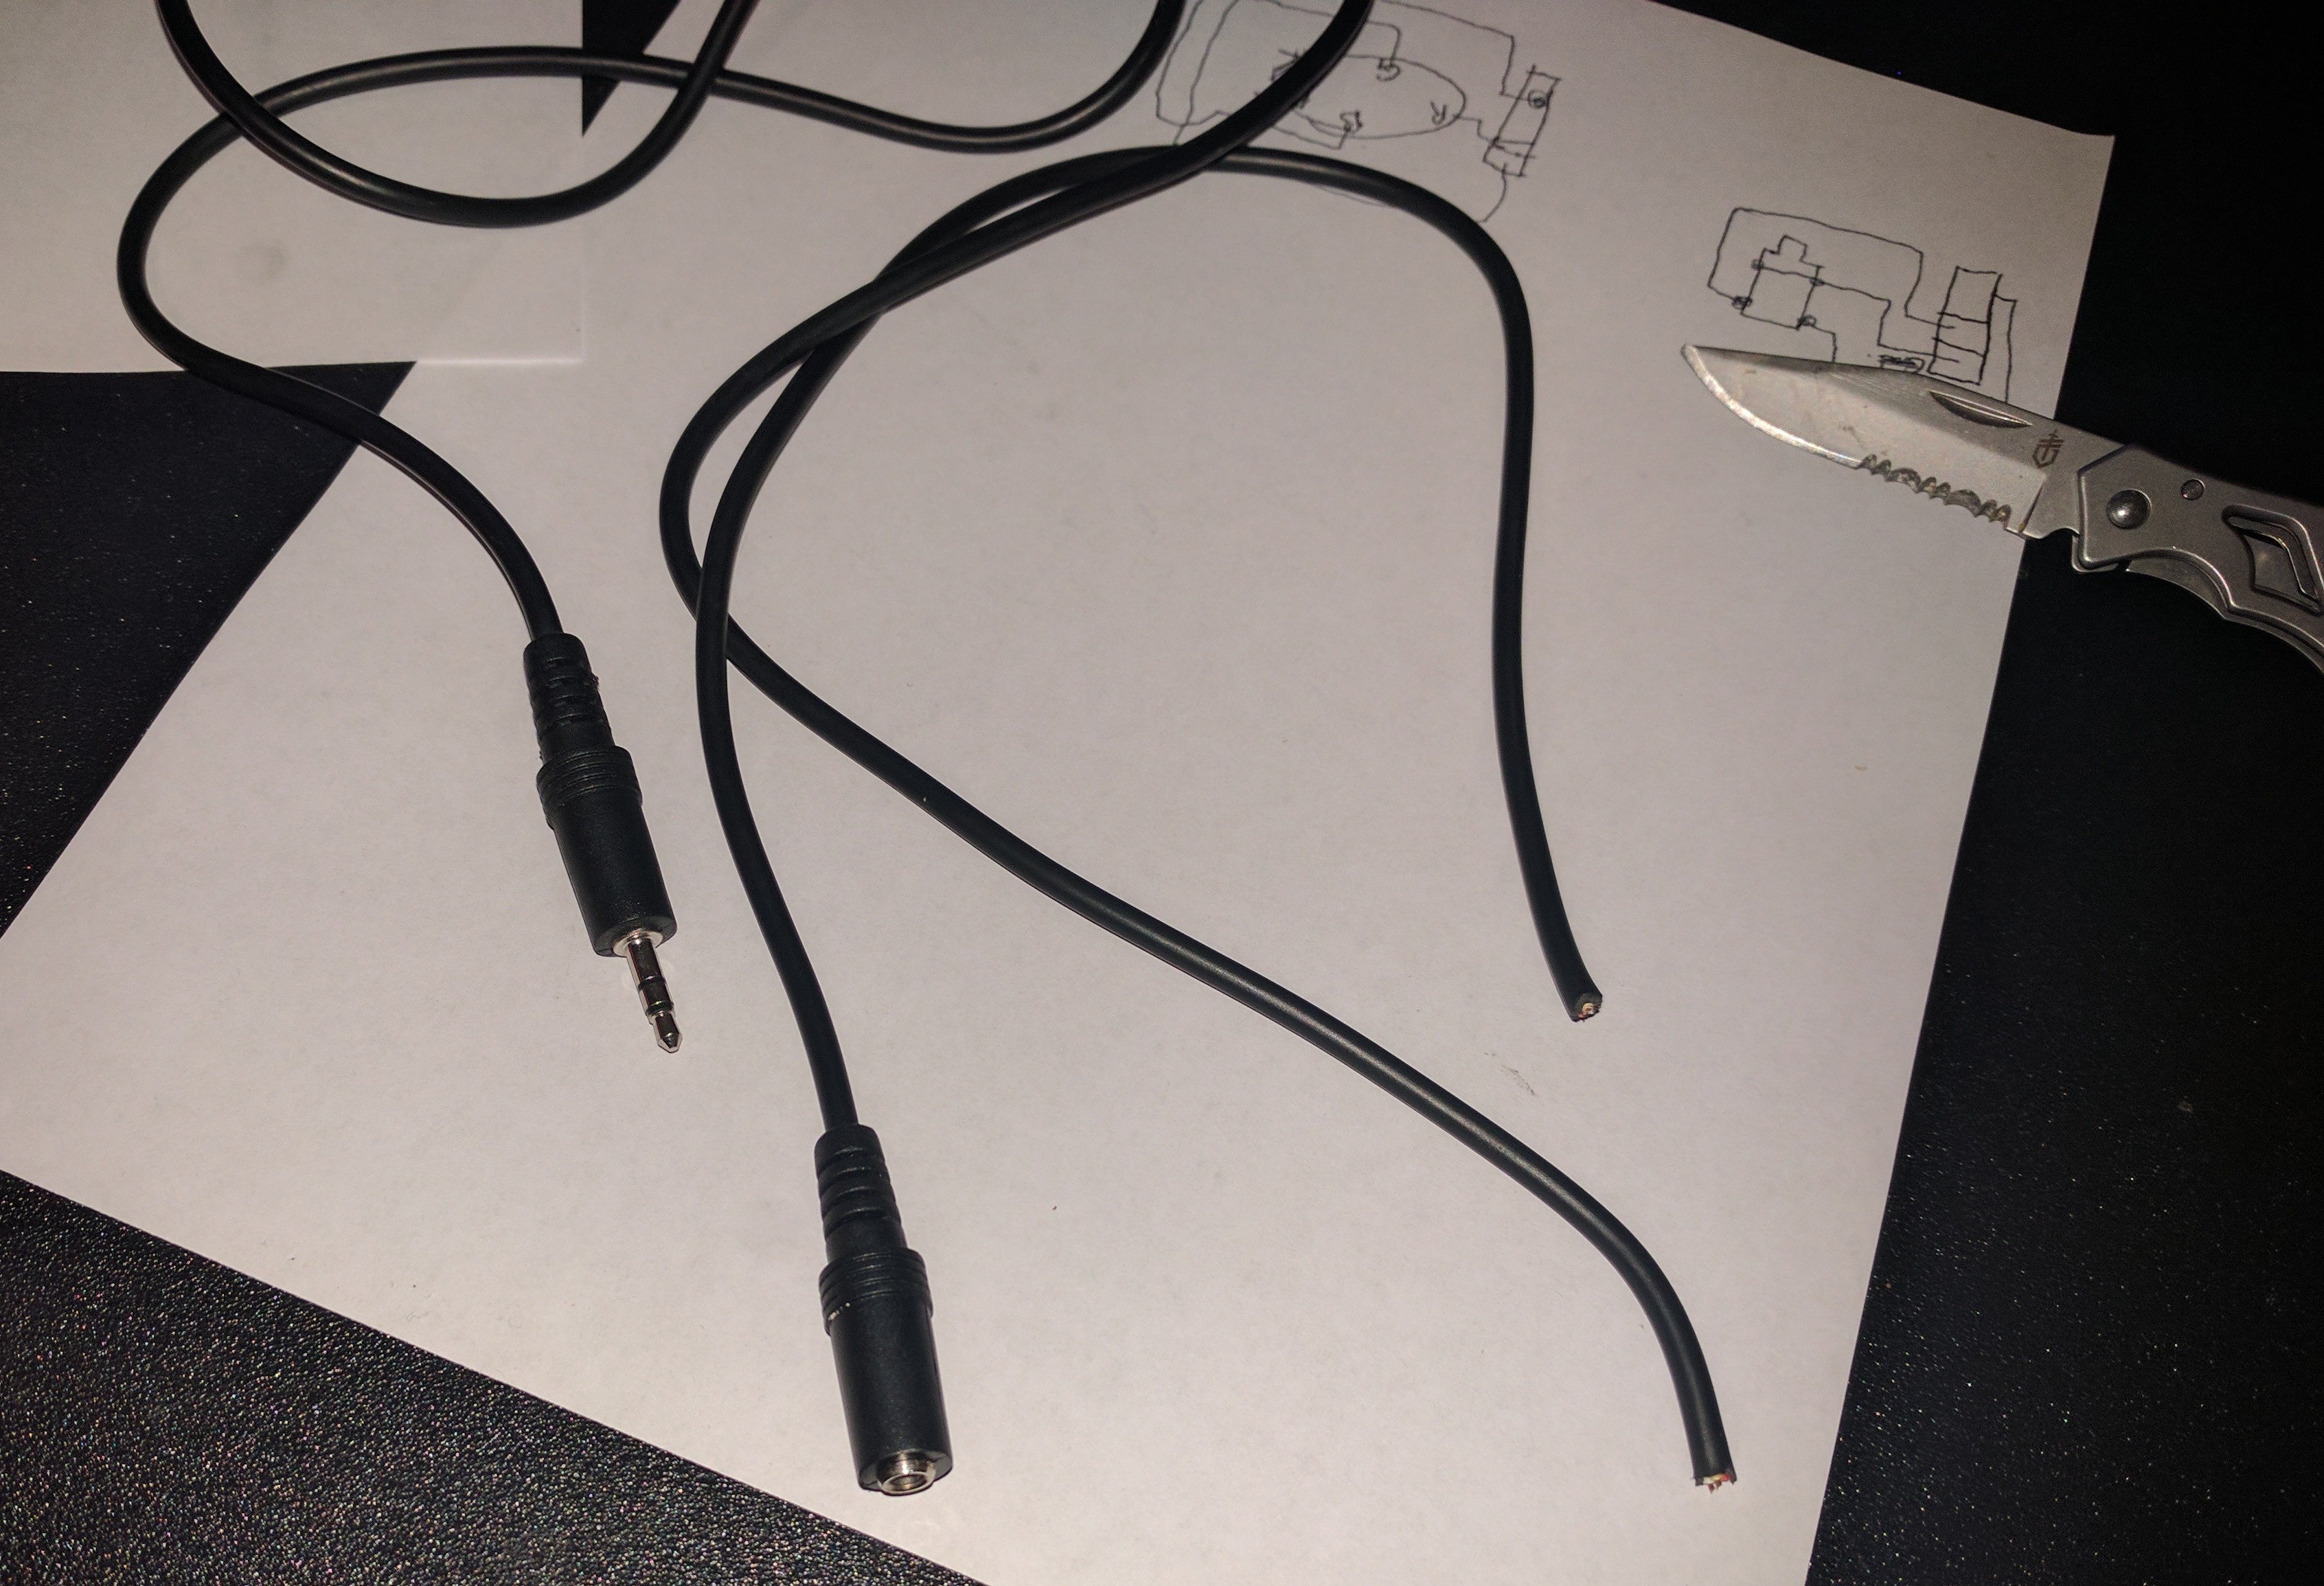
and removed the outer housing (with a knife) to expose the 3 inner cables. Then I used my knife to strip the isolation from each of the 3 cables. Finally, use your multimeter to identify the matching connections on your new cable.

Step 4: Make the new electrical connections
Carefully feed in your 3 wires into the headset. Wrap them around the strain relief.
Finally, use your soldering iron to make the new electrical connections. Note, I decided to use new solder because I had trouble making what looked like good connections.
Step 5: Close everything up and enjoy
The final step, put everything back together, the headset with the 4 screws, and put the earpads back on.
Enjoy your new cable.
I kept my old cord in a box should I ever decide to go back to it. It is really a high quality cable. Most of my earbuds only last a few months before having to be replaced due to the connector being flimsy. This cable is going on 5 years strong.